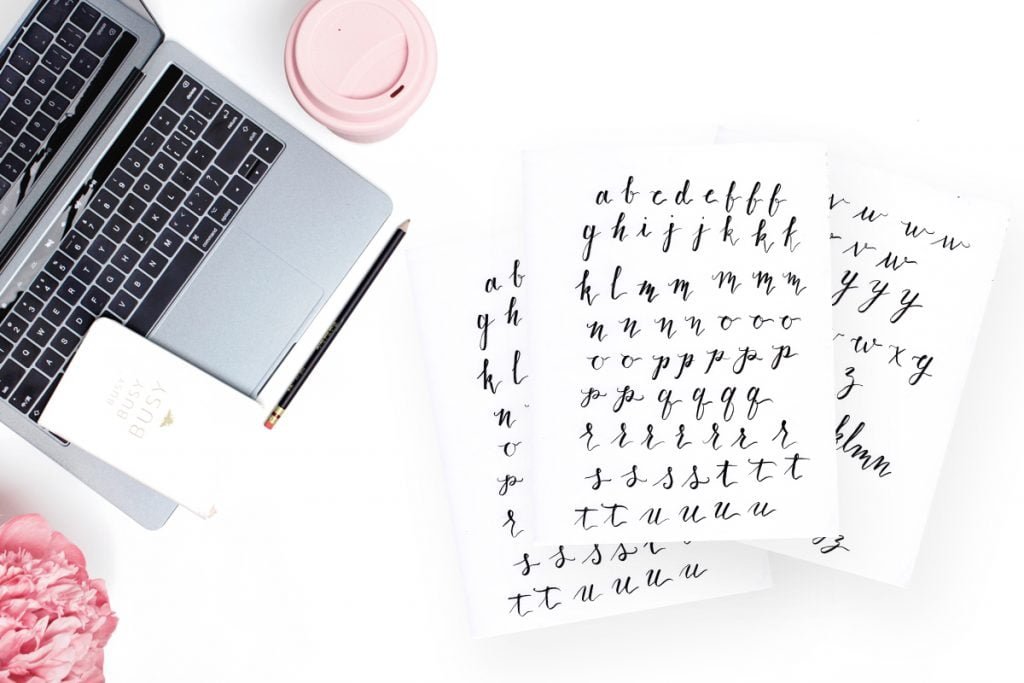
This post has been in the making for quite some time! Basically in my work I love to incorporate calligraphy wherever I can which means I’m constantly working on my calligraphy skills and practicing different calligraphy styles. From doing this calligraphy work for the past few years I have gradually developed my own signature styles and want to share the first one with you. I also want to dive in deeper with you how you can also create your own calligraphy style!
Below I will give you the overview of how I got to the point of coming up with my own calligraphy style. Along with this I will give you the resources to do this on your own. And if you want to practice using Proof & Parchments calligraphy worksheets you can get them by signing up for the email list. As a bonus you’ll also get access to the vault which has even more freebies!
Research
I have spent a lot of time researching other calligraphy styles and using them in various works with my own twist. I’ve gone over styles I’ve used in past posts. But some of my favorites are from Laura Hooper Calligraphy and The Postman’s Knock. They both have amazing styles and great resources to practice them and use them in your work. I even used TPK’s Kaitlin calligraphy style for my own wedding invitation envelopes.
Practice
Practice, practice, practice.
I cannot stress enough that in order to get better and more comfortable with calligraphy is to practice. Along with this making sure you have the right supplies can really help you out. I detail my favorite calligraphy supplies in this post and I also share some of my favorite items here.
As I became more comfortable with calligraphy styles I would start to change the characters little by little adding my own flair. And I practiced them over and over and over again. The more I practiced the more I went by what felt right to me versus looking at the exemplars. By continuing this practice my letters morphed into its own style.
Once I got to a place where I was happy with the overall vibe of my calligraphy style I started to refine each individual letter and again continued to practice it. I also worked on double letters and connections to get them to a place where I was happy with the end product.

Digitize
The overall process from researching to practicing took quite awhile, especially since this was pretty new to me (even though I’ve studied and created fonts in the past). However the tedious part came with digitizing the whole set to create a worksheets! I followed a similar process that I shared in my lettering post here. But this definitely took way more time since I wanted to make sure every letter looked good and cohesive. This meant scanning in multiple versions of every letter and digitizing the best option plus cleaning them all up with my Wacom Tablet. After awhile it became somewhat meditative and I think the time to complete my next style will take a lot less time from start to finish now that I’ve got the hang of it!
Final Product
The last step once I had the whole alphabet digitized was to create the actual worksheets. This was probably the easiest part but also the most rewarding to see it all come together. I wanted to make sure it was easy to be able to practice the letters.
Hopefully this is just the beginning as I’m hoping to add more worksheets and styles over time and I hope you get a chance to try out the worksheets and have fun creating your own calligraphy style.


Leave a Reply